Better Than Boxed: Your Guide to Irresistible Oven-Baked Toaster Strudels
Imagine waking up to the aroma of freshly baked pastries, golden and flaky, filled with your favorite fruity or creamy delights. Now imagine that these aren't some store-bought, preservative-laden imposters, but your very own creation – a batch of wholesome,
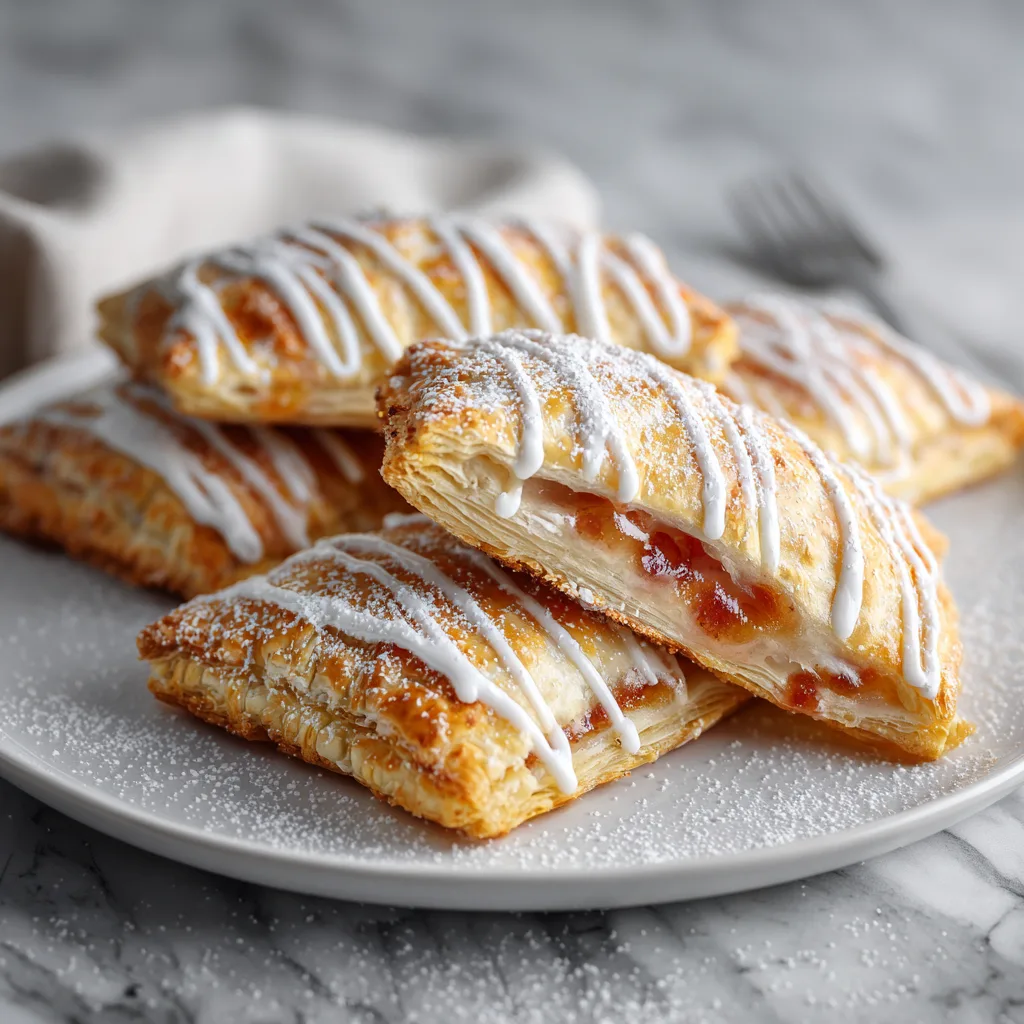
homemade toaster strudels. While the name might suggest a toaster is involved, our superior, from-scratch versions are best enjoyed straight from the oven, offering a texture and flavor profile that puts the boxed variety to shame.
For many, the mention of "Toaster Strudel" evokes nostalgic memories of childhood breakfasts. But what if you could elevate that experience, crafting a grab-and-go breakfast that’s not only more delicious but also made with ingredients you can pronounce? This comprehensive guide will walk you through creating these delightful pockets of goodness, proving that homemade truly is better than boxed. Get ready to transform your breakfast routine with a recipe that's surprisingly straightforward and infinitely customizable.
Why Homemade Toaster Strudels Reign Supreme
The allure of *homemade toaster strudels* goes far beyond simple nostalgia. When you take the time to craft them yourself, you unlock a world of benefits that packaged alternatives simply can't match:
*
Unmatched Flavor and Texture: The difference is night and day. Our recipe ditches the often bland, pre-made puff pastry for a meticulously crafted dough that develops incredible layers and a melt-in-your-mouth flakiness when oven-baked. The fillings are vibrant and fresh, unmarred by artificial flavors or excessive sugar.
*
Wholesome Ingredients: Say goodbye to high-fructose corn syrup, trans fats, and artificial colors. With homemade, you control every ingredient, opting for natural fruits, real butter, and wholesome flours. This makes them a more nourishing option for your family.
*
Endless Customization: One of the greatest joys of making these yourself is the freedom to experiment. From classic fruit jams to unique savory fillings, the possibilities are only limited by your imagination. You can also easily adapt the recipe to suit dietary needs, offering dairy-free or gluten-free alternatives.
*
Freezer-Friendly Convenience: Just like their store-bought counterparts, these *homemade toaster strudels* are perfect for meal prepping. Make a large batch, freeze them, and you’ll have quick, delicious breakfasts ready in minutes – a true game-changer for busy mornings.
Crafting the Perfect Flaky Dough: Beyond Puff Pastry
While many semi-homemade strudel recipes lean on store-bought puff pastry, our approach takes a step back to deliver a truly superior product. We'll be making our own dough from scratch, and trust us, the extra effort is worth every single flake. This method, contrary to typical kneading, focuses on creating layers, much like traditional rough puff pastry, but simplified for home bakers.
Here’s how to achieve that irresistible texture:
-
Combine Dry Ingredients and Butter: Start by whisking together your flour (or a gluten-free blend), a pinch of salt, and a touch of sugar. Next, crumble in cold butter (or a dairy-free alternative). The key here is to keep the butter in small, pea-sized pieces. Using a fork or a pastry cutter helps integrate the butter without overworking it. These small pieces of butter are crucial for creating steam pockets during baking, which lead to those coveted flaky layers.
-
Gradually Add Liquid: Slowly pour in cold milk (or a dairy-free milk alternative), adding just enough until the dough comes together. You're aiming for a cohesive but not sticky dough. The exact amount can vary based on flour type and humidity, so add it cautiously. Overly sticky dough will be difficult to roll, while too dry dough will crumble.
-
The Layering Technique: This is where the magic happens! Roll your dough into a rough square. Then, fold it in half, and fold it in half again. Roll it out once more into a square. Repeat this folding and rolling process at least 5-6 times. The goal isn't to knead the dough, but to create distinct layers of butter and dough, which will expand into beautiful flakes in the oven. Resist the urge to press too hard while rolling; a gentle hand helps preserve the layers. If the dough becomes difficult to handle or starts to warm up, pop it in the fridge for 15-20 minutes to chill before continuing.
-
Final Roll and Cut: Once you've completed your layering, roll the dough out very thinly, about 1/8 to 1/4 inch thick. Cut the dough into uniform rectangles, approximately 5x6 inches. These will be the foundation for your strudels. Place half of your rectangles onto a baking sheet lined with parchment paper.
If you're eager to master the art of crafting that perfect flaky base from scratch, our comprehensive guide on
Homemade Toaster Strudels: Flaky Dough from Scratch offers invaluable tips and techniques.
Filling Fantasies and Perfect Sealing
With your beautiful dough prepared, it's time for the fun part: the filling! The versatility of *homemade toaster strudels* shines brightest here.
*
Classic Fruit Fillings: Jams, jellies, or preserves are excellent choices. Consider homemade applesauce (as used in the reference context), pureed berries, or even canned fruit pie filling for ease. Aim for a thicker consistency to prevent sogginess.
*
Creamy Indulgences: A mixture of cream cheese, a touch of sugar, and vanilla creates a delightful, cheesecake-like filling.
*
Chocolate & Nut Spreads: Nutella or a rich chocolate ganache can turn these into a decadent dessert-for-breakfast.
*
Savory Surprises: Don't limit yourself to sweet! A thin layer of cheese and a sprinkle of herbs, or even a tiny bit of cooked sausage, can create a unique savory breakfast pastry.
Sealing the Deal: Spoon about 1-2 tablespoons of your chosen filling onto the center of half of your dough rectangles, leaving a border of at least half an inch. Take the remaining dough rectangles and carefully place them over the filled ones. Gently press down around the filling to remove any air pockets, then use the tines of a fork to crimp and seal all four edges securely. This is a critical step – a good seal prevents your delicious filling from oozing out during baking.
Baking Bliss and the Icing on the Cake
With your strudels assembled, it's time for them to hit the heat.
1.
Pre-Bake Preparation: For a beautiful golden finish reminiscent of the store-bought variety, whisk an egg with a splash of water (an egg wash) and gently brush it over the tops of each strudel. This adds color and a slight sheen. Alternatively, a simple brush of melted butter will also encourage browning and add richness.
2.
Oven-Baked Perfection: Preheat your oven to 350°F (175°C). Bake the strudels for approximately 20-25 minutes. They won't necessarily turn a deep golden brown all over, but they will puff up beautifully and the dough should be cooked through. Look for light browning on the edges and a firm, flaky texture.
3.
Cooling and Glazing: Once baked, transfer the strudels to a wire rack to cool slightly. While they’re still warm, prepare a simple glaze. Combine powdered sugar, a splash of milk (dairy or non-dairy), and a hint of vanilla extract until you reach a drizzly consistency. Drizzle generously over the cooled (or slightly warm) strudels.
Important Tip: Do not apply the glaze if you plan to store or freeze your strudels immediately. The glaze is best added just before serving for optimal texture and appearance.
Make-Ahead Magic: Freezing and Storage Tips
One of the most practical aspects of *homemade toaster strudels* is their freezer-friendliness. This makes them ideal for busy families or anyone looking to have a quick, satisfying breakfast on hand.
*
Freezing Unbaked Strudels: After assembling and sealing, but before baking or applying any egg wash, arrange the strudels on a baking sheet and freeze them until solid. Once frozen, transfer them to an airtight freezer bag or container. They can be stored for up to 2-3 months. To bake, simply place the frozen strudels on a parchment-lined baking sheet, brush with egg wash, and bake at 350°F (175°C) for about 25-30 minutes, or until golden and puffed.
*
Freezing Baked Strudels: If you prefer to bake them all at once, let them cool completely after baking (without the glaze). Wrap individual strudels tightly in plastic wrap, then place them in an airtight container or freezer bag. Reheat in a preheated oven at 300°F (150°C) for 10-15 minutes until warmed through.
*
Storage: Baked strudels can be stored in an airtight container on the countertop for 2-3 days or in the refrigerator for up to a week. Remember to add the glaze just before serving.
For more detailed insights into optimizing your preparation, check out our guide on
Easy Make-Ahead Toaster Strudels: Dairy-Free Options.
Customization and Dietary Adaptations
This recipe is incredibly versatile, making it accessible for almost everyone.
*
Dairy-Free: Simply substitute dairy milk with an unsweetened plant-based milk (almond, soy, oat) and use a dairy-free butter alternative in both the dough and for brushing. The glaze can be made with plant-based milk as well.
*
Gluten-Free: Use a 1:1 gluten-free all-purpose flour blend. Be aware that gluten-free dough can sometimes be a bit more delicate to handle, so work gently and chill it frequently if needed. The layering technique still works wonderfully with most GF blends.
Creating *homemade toaster strudels* is a rewarding culinary adventure that promises superior flavor, freshness, and customization. It’s a wonderful way to bring warmth and deliciousness to your breakfast table, transforming a simple grab-and-go meal into an experience to savor. So, ditch the box, embrace the oven, and prepare to delight your taste buds with these truly irresistible breakfast pastries!